Creating the UNO game on JavaScript. (Part I)
July 31, 2020
In this article, I am going to explain step by step everything I came up to create the popular UNO game from scratch just in a simple canvas for the end-user that is going to play giving them a lightest client, just the browser. To do so, all code is in JavaScript. On the server-side, we manage a Node.JS server to attend all requests performed by users connected through SocketIO.
Contents
Setting up the server
The first goal is to set up a simple HTML webpage that serves out an empty canvas. We are just only going to use two dependencies, Express as the web framework and Socket.IO as the real-time engine.
Let’s start with an empty node project. We create a package.json manifest file that describes our project. It is recommended to place it in a new empty directory, I will call mine socket-uno.
$ npm init
package.json:
{
  "name": "socket-uno",
  "version": "0.0.1",
  "description": "UNO game on javascript",
  "main": "server.js",
  "scripts": {
    "start": "node server.js"
  },
  "repository": {
    "type": "git",
    "url": "git+https://github.com/eperezcosano/Uno.git"
  },
  "author": "Izan Pérez Cosano",
  "license": "MIT",
  "bugs": {
    "url": "https://github.com/eperezcosano/Uno/issues"
  },
  "homepage": "https://github.com/eperezcosano/Uno#readme",
  "dependencies": {}
}
This could be a completed package.json. On my case, I filled up more than the necessary fields like my GitHub Repo and others, but it is fine with only a minified version (name, version, description and dependencies).
The Web Framework
Now, to easily populate the dependencies property with the things we need, we will use npm:
$ npm install express --save
Once installed, we create a new directory called public that is going to be the root directory served. Within it, we are going to place a simple index.html with just a line of Hello World to test it out.
<h1>Hello world</h1>
And outside them, in the main directory, we define our server.js file that will set up our application.
const express = require('express');
const app = express();
const http = require('http').Server(app);
const port = process.env.PORT || 3000;

app.use(express.static(__dirname + '/public'));
http.listen(port, () => console.log('listening on port ' + port));
This means that Express initializes app to be a function handle that you can supply to an HTTP server (line 3) and listen on port 3000, using the /public as the root directory.
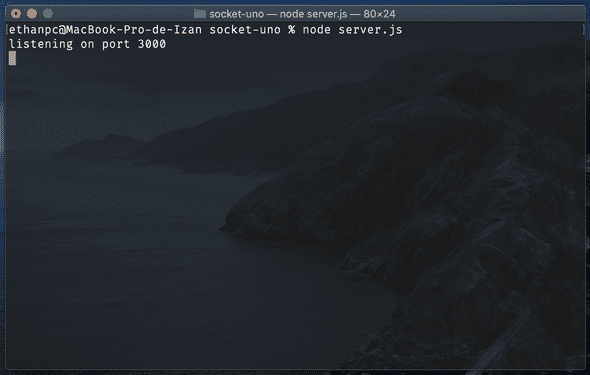
If you run node server.js you should see the following:

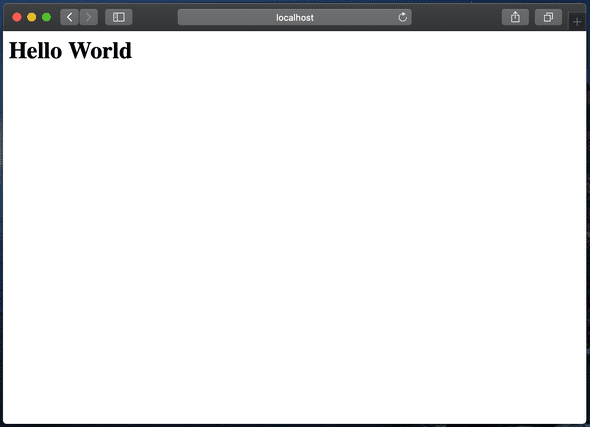
And if you point your browser to http://localhost:3000:

Integrating Socket.IO
Socket.IO is composed of two parts:
- A server that integrates the Node.JS HTTP Server.
- A client library that loads on the browser side.
During development, socket.io serves the client automatically for us, as we will see, so for now we only have to install one module:
$ npm install socket.io
That will install the module and add the dependency to package.json. Now let’s edit server.js to add it:
const express = require('express');
const app = express();
const http = require('http').Server(app);
const io = require('socket.io')(http);
const port = process.env.PORT || 3000;

app.use(express.static(__dirname + '/public'));
io.on('connection', onConnection);
http.listen(port, () => console.log('listening on port ' + port));

function onConnection(socket) {
   console.log('a user connected');
}
Notice that it listen on the connection event for incoming sockets and log it to the console.
Now within index.html add the following snippet before the end body tag </body>:
<script src="/socket.io/socket.io.js"></script>
<script>
   var socket = io();
</script>
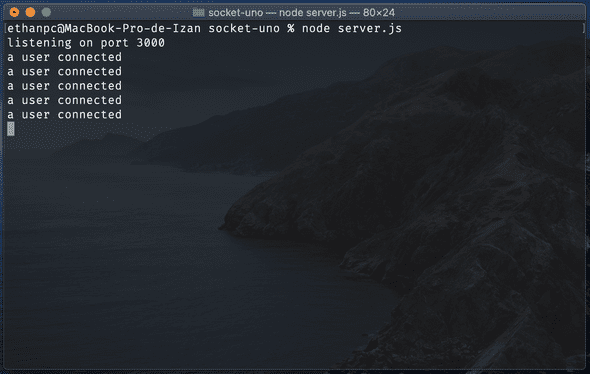
That is all it takes to load the socket.io on the client-side. Reload the webpage several times and we will get our expected result:

Project Structure
Now we are ready to start our project, on the client-side we will use three files: index.html, style.css and main.js.
In index.html we will set these lines in order to create a canvas and use our own styles and JavaScript code:
<!DOCTYPE HTML>
<html lang="en">
  <head>
     <meta charset="UTF-8">
    <link rel="stylesheet" href="style.css">
    <link rel="icon" type="image/svg" href="images/uno.svg">
    <title>Uno</title>
  </head>
  <body>
    <canvas id="canvas" width="1000" height="600"></canvas>
    <script src="/socket.io/socket.io.js"></script>
    <script src="/main.js"></script>
  </body>
</html>
Then we will create a style.css as our stylesheet file:
html, body {
  margin: 0;
  padding: 0;
  background-color: #00897B;
}

canvas {
  margin: auto;
  display: block;
}
Also, we will create a new directory for the UNO deck of cards images (/public/images/).
Deck of cards
- Full view
- Back side
And within the main.js file there is going to be coded all the game on the client-side.
By last, within the server.js file will be coded the rest of the game on the server-side.
Loop through the deck of cards
Let’s now focus on how we are going to manage the cards display for the client-side. Since we only have one image of a full view of all the cards, we want to get one by one each by looping through the image a little chunk that will be the card in question.
Look to the deck structure, we can extract the following patterns:
- Each row consist of 14 cards of the same colour except for the last one that is a Wild card (either a Wild or a Wild Draw 4).
- There are 4 colours in total and appearing twice, so there are 8 rows overall.
- The sequence goes from 0 to 9 card numbers and consequently goes the Skip, Reverse, Draw 2 and Wild/Wild Draw 4 cards.
- The only two differences between the first group of 4 rows and the second is that the first one has the 0 card number and the Wild card whereas in the second has the Wild Draw 4 instead and 4 blank cards.
- Blank cards are not playable so we have to discard them from the deck and for the following explanations they are not considered.
Let’s imagine all cards piled up, in total there are 108. We are going to label each card with a number. Now, for any number inside this range, how we are going to know what position in the rows and columns image is located? Let’s find it out.
To find which column the card belongs to, we need a formula that given any position, the result is always within the range between 0 and 14. This reminds me to use modular algebra to solve this problem.
card mod 14 = column
Being card the number in the deck and column the position in the image, this formula solves the problem of locating the card in the columns position.
What about finding on what row belongs to? In this case, the formula needed is somehow one that goes from 1 to 8 and remaining on the same value for each multiple of 14. The solution is just doing a simple division and rounding down the result.
⌊ card / 14 ⌋ = row
Since there are 112 card numbers (blanks are not considered, but the following cards have their position number according to the picture) this formula provides the row position of any card in the deck.
Summarizing everything, we can write the following two functions that will be very useful for us to later handle the cards depending on their colour and card type.
/**
 * Given a card number, returns its color
 * @function
 * @param {Number} num Number of the card position in deck
 * @return {String} Card color. Either black, red, yellow, green or blue.
 */
function cardColor(num) {
  let color;
  if (num % 14 === 13) {
    return 'black';
  }
  switch (Math.floor(num / 14)) {
    case 0:
    case 4:
      color = 'red';
      break;
    case 1:
    case 5:
      color = 'yellow';
      break;
    case 2:
    case 6:
      color = 'green';
      break;
    case 3:
    case 7:
      color = 'blue';
      break;
  }
  return color;
}

/**
 * Given a card number, returns its type
 * @function
 * @param {Number} num Number of the card position in deck
 * @return {String} Card type. Either skip, reverse, draw2, draw4, wild or number.
 */
function cardType(num) {
  switch (num % 14) {
    case 10: //Skip
      return 'Skip';
    case 11: //Reverse
      return 'Reverse';
    case 12: //Draw 2
      return 'Draw2';
    case 13: //Wild or Wild Draw 4
      if (Math.floor(num / 14) >= 4) {
        return 'Draw4';
      } else {
        return 'Wild';
      }
    default:
      return 'Number ' + (num % 14);
  }
}

